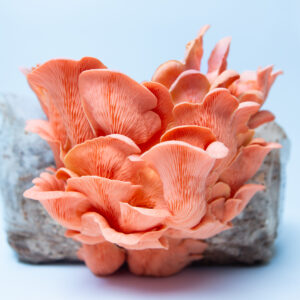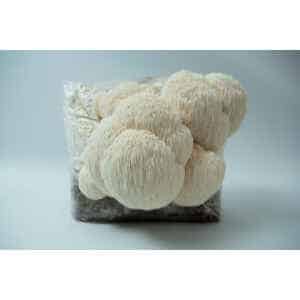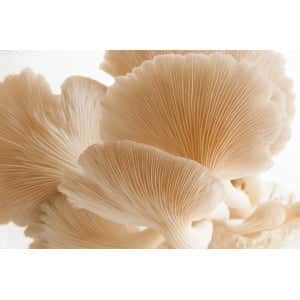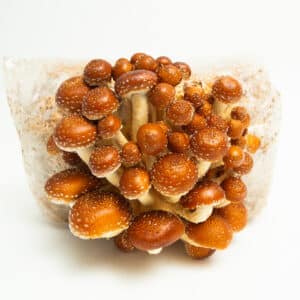

Description
Lead time (mentioned in the listing above “add to cart” button) means time it takes to prepare this order. Product in stock does not mean its ready to send out, it means it can be prepared in the lead time mentioned.
About this Kit
Complete Kit: Everything you need is included—just add water and follow the simple instructions.
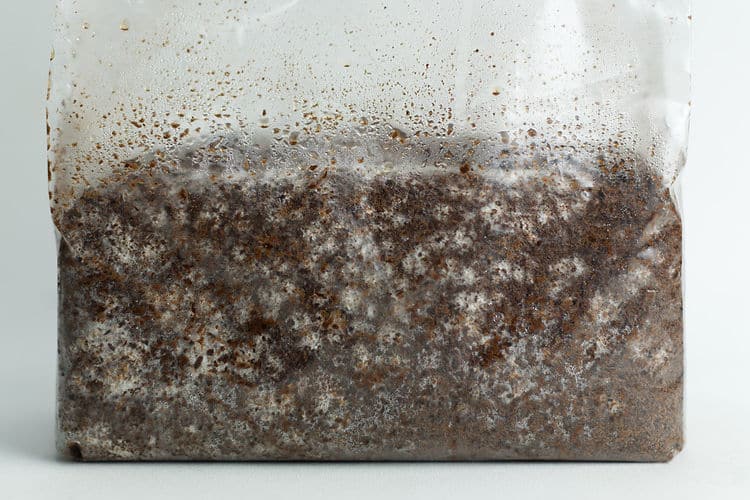
This kit uses a special Master’s Mix—a blend of sawdust, soy pellets, and water. It’s inoculated with about 300 grams of organic rye or millet grain spawn to give your mushrooms the best start.
We keep things simple and affordable by sending you a fresh, made-to-order bag, just like real mushroom farms use. No fancy boxes, no sitting in cold storage for weeks. This helps keep your cost down by $10; we pass that saving directly to you. We call these kits ‘almost ready to fruit’.
Humidity: Keep high humidity during pinset and fruiting (≈85–95% RH). Consistent humidity is important for large, well-formed caps.
Light: Indirect ambient light (a normal day/night cycle) is sufficient — avoid direct sun.
Air: Provide regular fresh-air exchange to avoid CO₂ buildup; oysters respond quickly to FAE and will produce elongated stems under poor ventilation. Aim for gentle airflow after pinning.
Storage: Unopened kits keep a few weeks in a cool, dark place; yields can decline if stored too long.
King of Pearl Oyster (Pleurotus ostreatus) — Notes & Why it’s Special
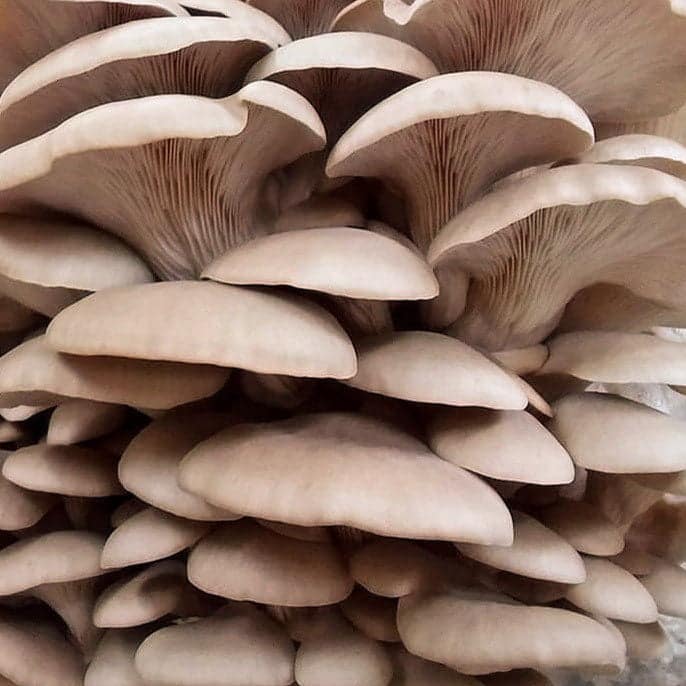
Pleurotus ostreatus is one of the most widely cultivated oyster mushrooms — robust, fast-colonising, and adaptable to many substrates (straw, hardwood sawdust, supplemented sawdust, agri-residues). This makes it ideal for kits and small commercial batches. It fruits as overlapping, fan-shaped shelves and tolerates a broad temperature window (useful if customers have variable conditions).
King of Pearl is slightly sweet/umami flavour and tender texture — great for sautés, soups and stir-fries. Nutritionally, it adds fibre, B vitamins and minerals.
Step-by-step Instructions & Post-Harvest Care
IMPORTANT- Check the fruiting temperature when you buy a kit and ensure you can provide it with the temperature it needs (10–30°C for this template; specific strains vary inside that window).
Step 1 – Let It Grow (3 Weeks)
*Take the bag out of its packaging and remove the tape holding the folded bag.
*Stand it upright so the white filter patch is unrestricted on the top, this is where the mycelium in the bag breathes from. Do not cut the bag for fruiting yet.
Please keep it away from direct sunlight, windows, fans, AC, or a wardrobe.
Let it sit like this for 3 whole weeks from the inoculation date on the label.
💡 Tip for First-Timers:
Oyster mycelium colonises very fast compared with many species — in warm incubation (20–25°C) you can see rapid white growth. Still, only trigger fruiting when colonisation is advanced and uniform to avoid contamination.
Need to Wait?
If you’re not ready to start fruiting after the 3 weeks, you can store the bag in the fridge for up to a month. Do not store it in the fridge until the bag is fully colonised.
Step 2 – Time to Fruit
After colonisation is mature, induce fruiting by increasing humidity, providing indirect light and giving gentle fresh air exchange; some growers also use a mild cooling or soaking to simulate natural triggers.
Follow these steps:
1. Cut / Expose: Lay the bag on its side and make the recommended opening (an “X” or line) where you want mushrooms to emerge; gently push out excess air and tuck the loose plastic underneath. For logs, exposing the inoculated surface or placing in a shaded, humid spot can trigger pinning.
2. Humidity & Mist: Maintain humidity around 85–95% and mist the exposed area 2–3 times daily or use a humidifier/fruiting chamber to keep RH steady; avoid heavy pooling of water.
3. Harvest: Pins commonly appear within a few days and fruit bodies mature in 3–10 days depending on temperature; harvest by cutting at the base when caps reach desired size. Expect multiple flushes with good care.
Common Mistakes to avoid
Too much or too little supplementation: While oysters will grow on many substrates, excessive supplementation without sterile technique can invite competitors; too little nutrition reduces yield.
Humidity swings: Sudden dry periods or heavy condensation pooling will harm pins and caps — keep RH steady.
Poor fresh-air exchange: Inadequate FAE causes long, stringy stems and small caps; too strong direct drafts dry the surface. Balance airflow after pins form.
Forcing fruiting too early: Initiating fruiting before colonisation is advanced raises contamination risk and reduces yields — be patient.
What to do if pins form inside the bag:
Don’t worry. Just ignore the internal pins. Gently fold the top of the bag to push out excess air, cut a small “X” in the side of the bag (where you want the mushrooms to grow), and begin misting that spot daily. Mushrooms will start fruiting from that cut. The internal pins will eventually be aborted naturally, as they don’t have space to grow.
Checkout out our fine Misting Spray Bottle to produce tiny droplets and keep humidity high. The size of droplets formed can easily be evaporated , this constant evaporation signals mycelium to pin.
Want to Learn More?
This kit introduces you to Stage 3: Fruiting, the final step in mushroom growing.
To explore all three stages (including how mushrooms grow from spores to harvest), check out our
Educational Mushroom Growing Kit.
Checkout all the Mushroom Growing kits Available in Our Spray and grow 3 Kg range.
Could not fruit the bag, or was it contaminated? Send us a photo or call us, and we will help you resolve the issue.