
Description
Lead time (mentioned in the listing above “add to cart” button) means time it takes to prepare this order. Product in stock does not mean its ready to send out, it means it can be prepared in the lead time mentioned.
About this Kit
Complete Kit: Everything you need is included—just add water and follow the simple instructions.
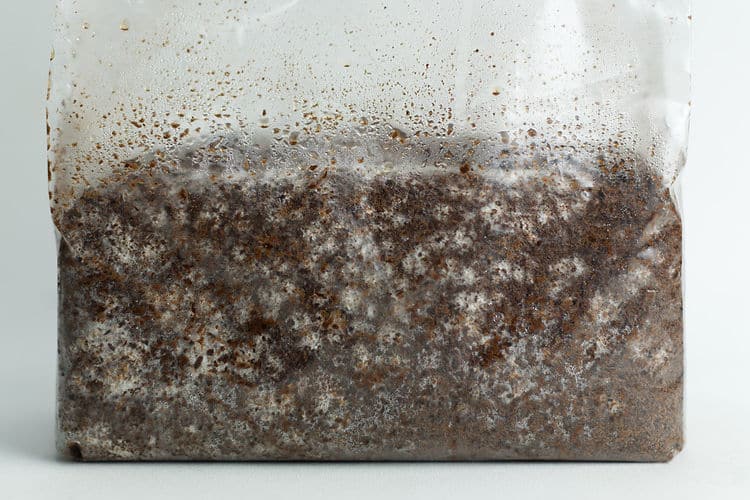
This kit uses a special Master’s Mix—a blend of sawdust, soy pellets, and water. It’s inoculated with about 300 grams of organic rye or millet grain spawn to give your mushrooms the best start.
We keep things simple and affordable by sending you a fresh, made-to-order bag, just like real mushroom farms use. No fancy boxes, no sitting in cold storage for weeks. This helps keep your cost down by $10; we pass that saving directly to you. We call these kits ‘almost ready to fruit’.
Humidity: Keep high humidity during pinset and fruiting (~85–95% RH). Phoenix oysters respond well to steady moisture for generous caps.
Light: Indirect ambient light is fine — a normal day/night cycle helps develop proper cap shape and colour.
Air: Provide regular fresh-air exchange (avoid high CO₂) to prevent long stems and promote robust caps. Many producers target CO₂ <1000 ppm during fruiting.
Storage: Unopened kits keep a few weeks in a cool, dark place; yield may decline the longer they are stored.
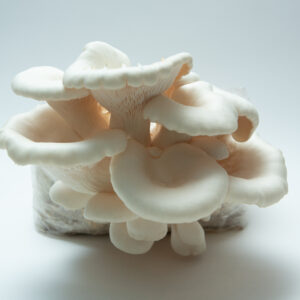
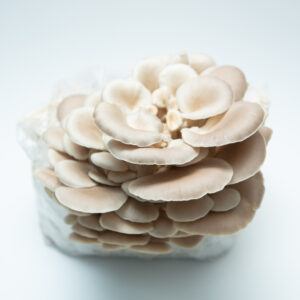
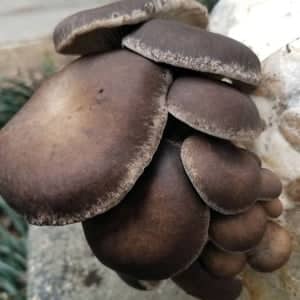
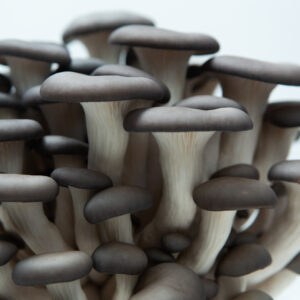
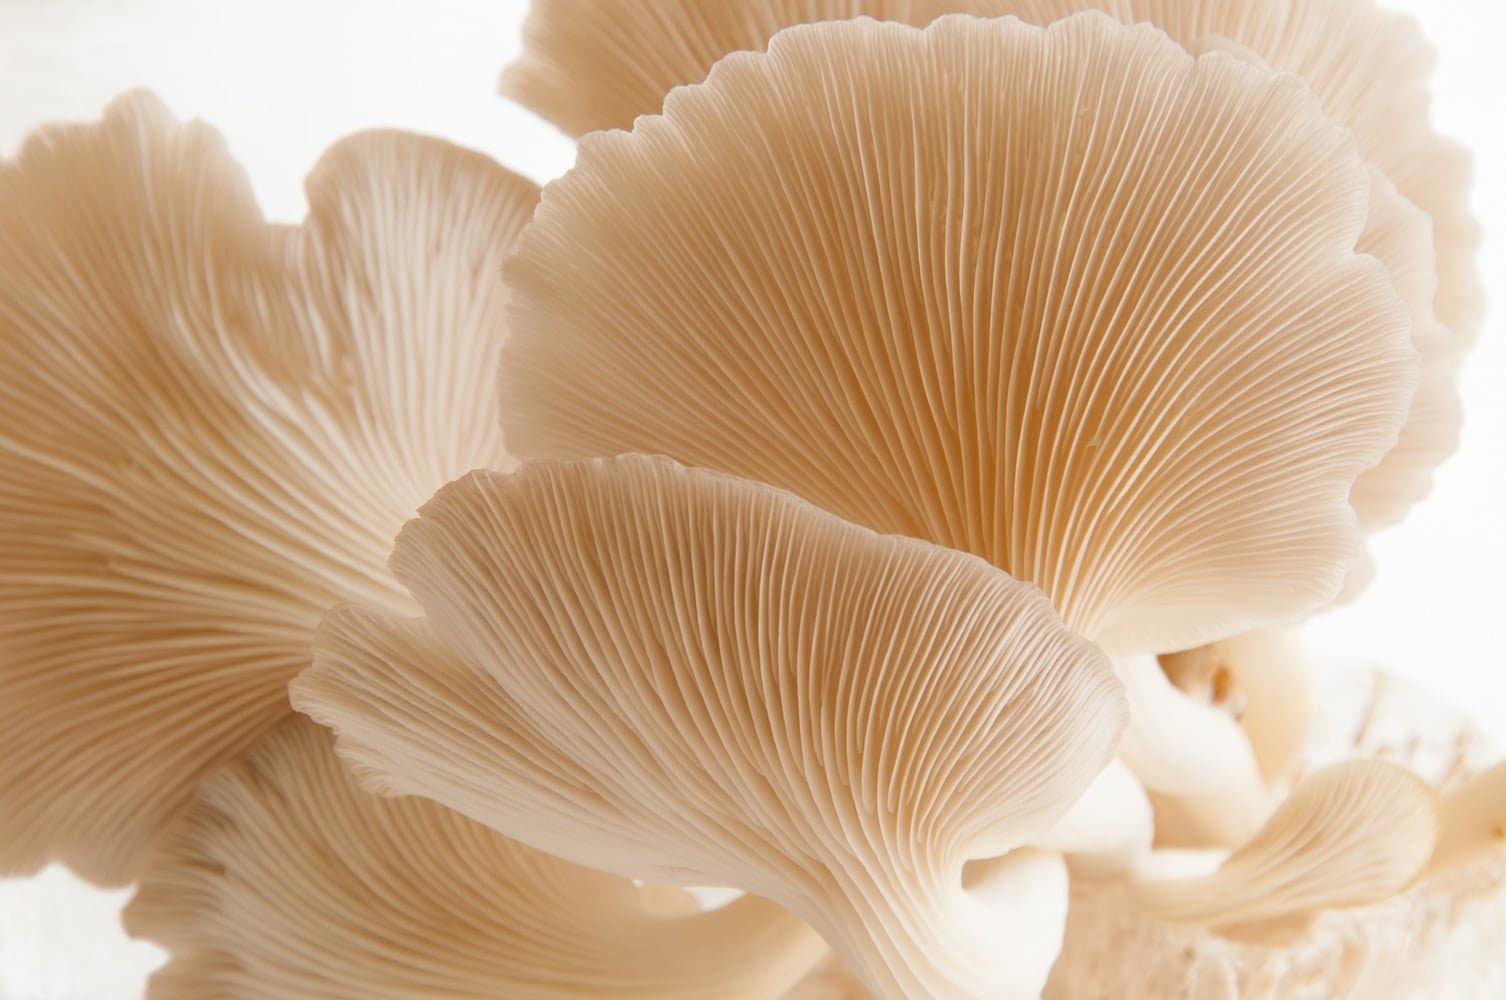
Phoenix Oyster (Pleurotus pulmonarius)
Phoenix Oyster (aka summer oyster, Indian oyster) is prized for its tolerance of warmer fruiting temperatures and its delicate, slightly sweet flavour and velvety texture. It fruits naturally on hardwoods and can also colonise conifer substrate (hardwood often gives larger fruit). Because it tolerates warmer conditions, it’s a popular “summer oyster” for growers who want a reliable crop in warmer months.
In commercial and home culture it grows well on pasteurised straw, hardwood sawdust or supplemented sawdust mixes (wheat bran/soy hulls) — substrate choice and supplementation strongly influence colonisation speed and yield.
Step-by-step Instructions & Post-Harvest Care
IMPORTANT- Check the fruiting temperature when you buy a kit and ensure you can provide it with the temperature it needs
Step 1 – Let It Grow (3 Weeks)
*Take the bag out of its packaging and remove the tape holding the folded bag.
*Stand it upright so the white filter patch is unrestricted on the top, this is where the mycelium in the bag breathes from. Do not cut the bag for fruiting yet.
Please keep it away from direct sunlight, windows, fans, AC, or a wardrobe.
Let it sit like this for 3 whole weeks from the inoculation date on the label.
💡 Tip for First-Timers: Phoenix oyster colonisation is usually fast at warmer incubation temps (many growers incubate ~24–30°C), so you may see rapid white mycelial growth. Still — only trigger fruiting when colonisation is advanced and uniform to avoid contamination.
Need to Wait? If you’re not ready to start fruiting after the 3 weeks, you can store the bag in the fridge for up to a month. Do not store it in the fridge until the bag is fully colonised.
Step 2 – Time to Fruit
After colonisation is mature, it’s time to induce fruiting — phoenix oysters often respond well to a mild cooling + good humidity and FAE.
Follow these steps:
1. Cut / Expose: Lay the bag on its side and make the recommended opening (an “X” or line) where you want mushrooms to emerge; gently push out excess air and tuck the loose plastic underneath. For logs, exposing the inoculated surface or outdoor placement can encourage pinning.
2. Humidity & Mist: Keep humidity high (85–95%) and mist the exposed area 2–3 times daily, or use a humidifier/fruiting chamber to maintain steady moisture; avoid heavy pooling of water.
3. Harvest: Pins can appear within a few days and fruit bodies typically mature within 5–10 days depending on temperature; harvest by cutting at the base when caps reach desired size. Expect 2–3 flushes with proper care.
Common Mistakes to avoid
Low humidity: Oyster caps and pins need steady humidity; drying during pinset causes aborts or small caps.
Poor fresh-air exchange: Insufficient FAE leads to long, thin stems and poor cap development; too much sudden draft can dry the surface.
Wrong substrate or supplementation: While phoenix will grow on straw and conifer, hardwood or well-supplemented sawdust usually gives larger mushrooms; balance supplements to avoid contamination.
What to do if pins form inside the bag:
Don’t worry. Just ignore the internal pins. Gently fold the top of the bag to push out excess air, cut a small “X” in the side of the bag (where you want the mushrooms to grow), and begin misting that spot daily. Mushrooms will start fruiting from that cut. The internal pins will eventually be aborted naturally, as they don’t have space to grow.
Checkout out our fine Misting Spray Bottle to produce tiny droplets and keep humidity high. The size of droplets formed can easily be evaporated , this constant evaporation signals mycelium to pin.
Want to Learn More?
This kit introduces you to Stage 3: Fruiting, the final step in mushroom growing.
To explore all three stages (including how mushrooms grow from spores to harvest), check out our
Educational Mushroom Growing Kit.
Checkout all the Mushroom Growing kits Available in Our Spray and grow 3 Kg range.
Could not fruit the bag, or was it contaminated? Send us a photo or call us, and we will help you resolve the issue.