
Description
Lead time (mentioned in the listing above “add to cart” button) means time it takes to prepare this order. Product in stock does not mean its ready to send out, it means it can be prepared in the lead time mentioned.
About this Kit
Complete Kit: Everything you need is included—just add water and follow the simple instructions.
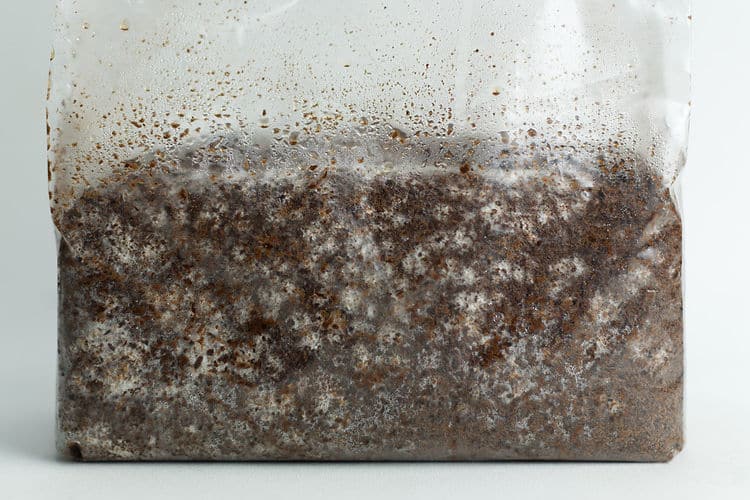
This kit uses a proven sawdust-based mix with added nutrients. It’s inoculated with premium grain spawn to give your mushrooms a strong start.
We keep things simple and affordable by sending you a fresh, made-to-order bag, just like real mushroom farms use. No fancy boxes, no long storage times. Freshness keeps your costs lower and results better.
Humidity: Needs very high humidity (90–95%) during fruiting.
Light: Indirect light only; does not need strong illumination.
Air: Gentle fresh-air exchange after pinning to avoid CO₂ build-up.
Storage: Colonised kits can be stored in the fridge if you’re not ready to fruit right away.
Important: This Item Can NOT be shipped to WA
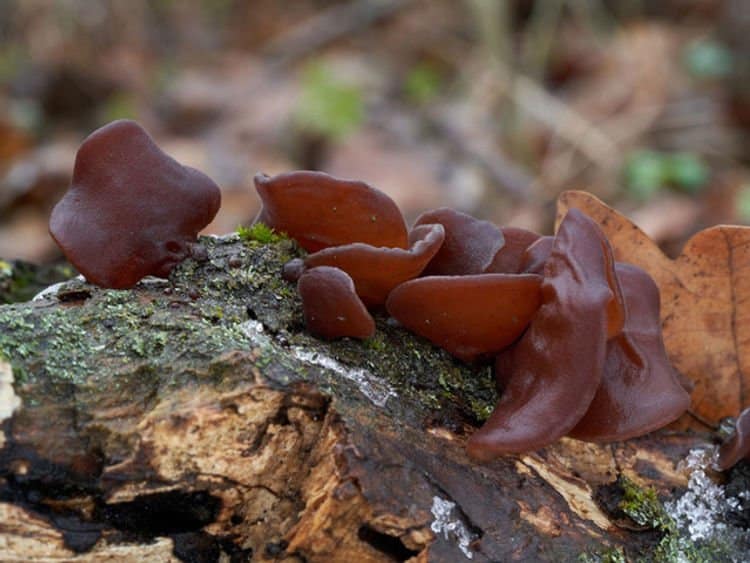
Wood Ear
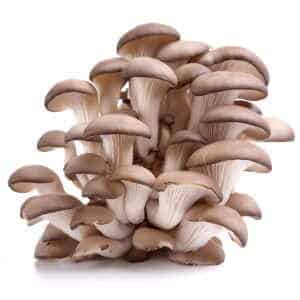
Wood Ear is a well-known edible fungus in Asian cuisine, grown for its crunchy, gelatinous texture rather than strong flavour.
It thrives on hardwood sawdust blocks or logs. Medicinally, it contains polysaccharides linked to immune and cardiovascular support.
In cooking, it is valued for soups and stir fries, and it keeps its texture even when dried and rehydrated.
Step 1 – Let It Grow (~3 Weeks)
*Take the bag out of its packaging and remove the tape holding the folded bag.
*Stand it upright so the white filter patch is unrestricted on the top, this is where the mycelium in the bag breathes from. Do not cut the bag for fruiting yet.
Avoid direct sun, fans, or drafts.
Allow it to fully colonise for around 3–4 weeks at room temperature (24–30 °C works well for colonisation).
If colonisation looks unfinished at 3 weeks, give it more time until the block looks solidly white.
Need to wait? Once colonised, the bag can be refrigerated for a few weeks before fruiting.
Step 2 – Time to Fruit
When fully colonised, cut open the bag or make slits where you want mushrooms to form.
1. Humidity: Mist 2–3 times daily to keep surfaces moist and maintain 90–95% humidity.
2. Light: Provide gentle indirect light—just enough to guide growth.
3. Harvest: Mushrooms appear within 5–10 days; pick when lobes are large and flexible but not tough. Multiple flushes are possible.
Common Mistakes to Avoid
Too dry: Low humidity causes thin tissue to shrivel.
Too warm when fruiting: High temps reduce quality and yield.
Poor airflow: Without gentle FAE, mushrooms may form poorly.
Harvest delay: Leaving mushrooms too long makes them tough.
What to do if pins form inside the bag:
Don’t worry. Just ignore the internal pins. Gently fold the top of the bag to push out excess air, cut a small “X” in the side of the bag (where you want the mushrooms to grow), and begin misting that spot daily. Mushrooms will start fruiting from that cut. The internal pins will eventually be aborted naturally, as they don’t have space to grow.
Checkout out our fine Misting Spray Bottle to produce tiny droplets and keep humidity high. The size of droplets formed can easily be evaporated , this constant evaporation signals mycelium to pin.
Want to Learn More?
This kit introduces you to Stage 3: Fruiting, the final step in mushroom growing.
To explore all three stages (including how mushrooms grow from spores to harvest), check out our
Educational Mushroom Growing Kit.
Checkout all the Mushroom Growing kits Available in Our Spray and grow 3 Kg range.
Could not fruit the bag, or was it contaminated? Send us a photo or call us, and we will help you resolve the issue.