Introduction
In this article, we will explore mycelium, the root structure of mushrooms, and use it to create very unique objects. This article will walk you through the essential steps, from preparing the growth medium to the final drying process, to ensure your mycelium object turns out beautiful and robust.
Materials Needed
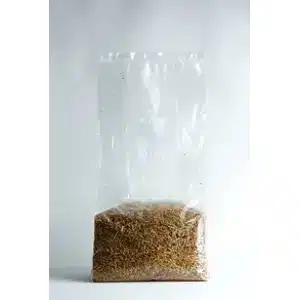
- Mycelium-inoculated Growth Medium
- Moulding Form
- Cling Wrap
Steps
a. Selection:
Choosing a growth medium is an essential part of the process because it is the substrate for growing mycelium. Each medium will give the final mycelium object a different texture and appearance. As a beginner, a ready-made medium might be the best choice for you, but as you gain experience, you can experiment with various substrates.
If you desire a larger, lightweight objects, use our Hemp hurd but if you want intricate smaller moulds with a heavier feel to the object, use sawdust.
b. Receipt and Storage:
Once you have your mycelium medium (either purchased or self-prepared), store it away from direct airflow or direct sunlight light in a well-ventilated space. Keep it sealed until colonisation begins to occur.
c. Colonisation:
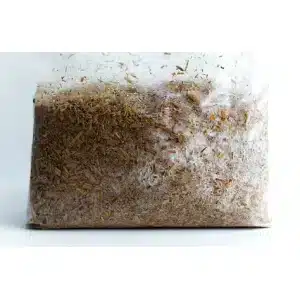
Monitor the medium until mycelium colonisation starts. This will be indicated by a slight whitening of the medium. It doesn’t need to be entirely white for you to move to the next step.
d. Breaking Down:
After colonisation, break the bag and crumble the content. Make sure it’s adequately broken down for easier handling and filling of mould. Make sure to do this without opening the bag to avoid contamination.

Preparing the Mould
a. Cleaning:
Clean your mould using warm water, soap, and a soft sponge. If you desire to have it even cleaner, spray the inside of the mould with 70% isopropyl alcohol and wipe it down with a paper towel.
We recommend working in a quiet room with no windows. Turn off the fan or air conditioner to minimise airborne particles. It’s advisable to wear a mask and gloves to maintain a clean working environment. Consider working on a non-porous surface, like a glass top, because it’s easy to clean and disinfect.
b. Filling:
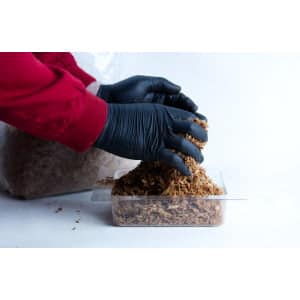
Fill the mould with the broken-down medium. Smaller moulds can be compacted more tightly than larger moulds.
Covering and Air Exchange
a. Leveling and Cleaning Edges:
Ensure the filled mould is leveled, and clean any extra substrate off the edges using a paper towel.
b. Wrapping:
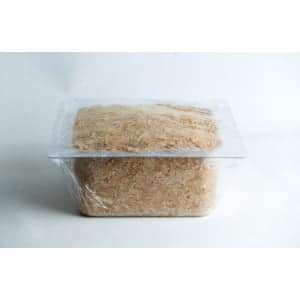
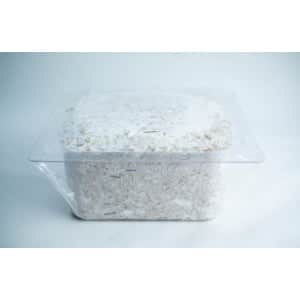
Cover your filled mould with cling wrap securely and make some holes to facilitate air exchange.
Growth and Maturation
a. Incubation:
Place the mould in a suitable environment so the mycelium can grow and bind the substrate together. The growth is usually between 5 to 7 days, depending on the mycelium strain and surrounding temperature.
Unmolding and Aerial Mycelium Development
a. Unmolding:
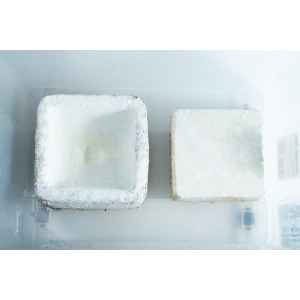
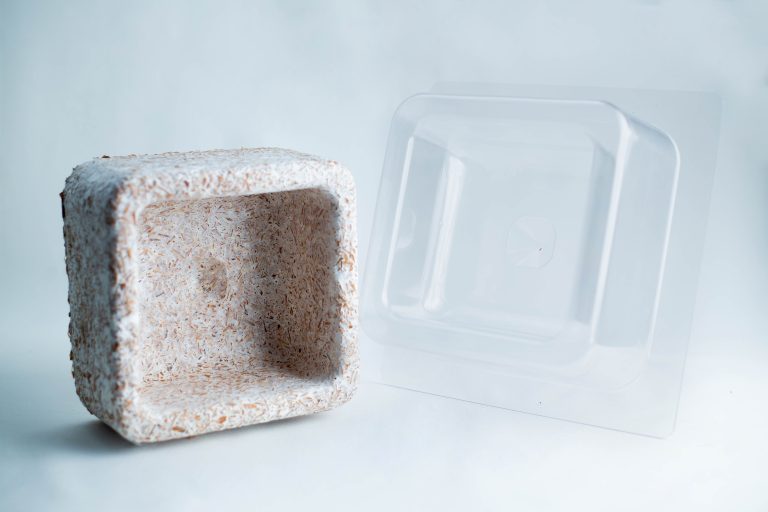
Once it has matured, carefully unmold your object. Be very careful with intricate moulds to prevent damage.
b. Aerial Growth:
After unmolding, place the object in a low-humidity and no airflow environment. Doing this will encourage the mycelium to develop aerial mycelium, giving your object a nice matte texture.
Tip: Keep it in a plastic storage container with no light for 1 day.
Drying and Finishing
a. Drying:
Dry the mycelium object to stop growth. This will prevent fruiting, which could alter its texture and appearance. Dry it in an oven with the door slightly ajar, checking every 30-60 minutes. Your aim should be for the object’s weight to reduce to 70% of its original weight and this might take 2-3 hours. The drying process is done at 80°C or 180F.
Tip-Do not use fan forced setting.
b. Repair and Finish:
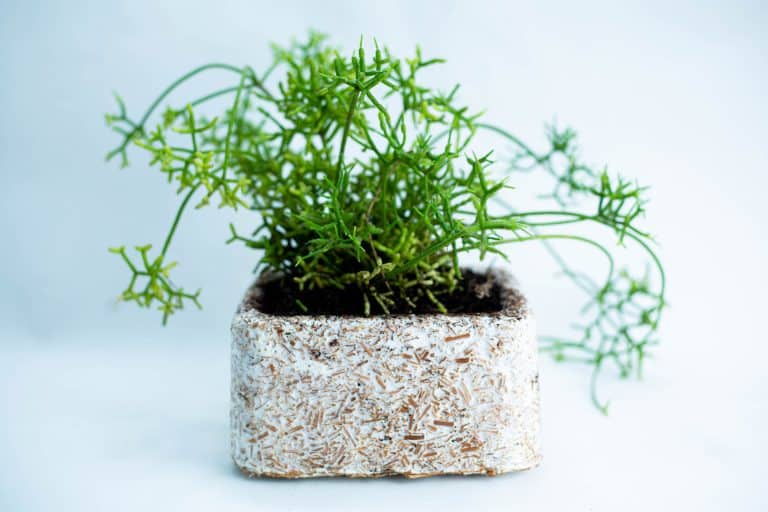
If there are any damages or imperfections, lightly paint over them with white paint to blend. You can also use hairspray to give it a finished shiny look.
Additional Tips and Tricks
a. Mould Preparation:
There is a sense of fulfillment that arises form creating your own mould and growth medium and having complete control over the project. However, you can choose to save time by purchasing ready-made items. This is often a good choice for beginners or those with tight deadlines.
b. Home-Made Growth Medium:
A simple recipe for a homemade growth medium is using kitty litter or paper pellets. Add boiling water to eliminate any existing microorganisms.
If you wish to create your own growth medium, please ensure to pasteurize the medium and purchase the Reishi, Turkey Tail, or any other mycelium of your choice from our grain spawn listing.
We also sell hemp hurds in bulk if you wish to create your medium at home.
c. Alternative Mycelium Strains:
Try out different mycelium strains to discover a variety of textures and growth characteristics.
d. Timeline:
7-10 days of colonisation in the mould, 1 day of aerial growth, 1 day of drying, and then your object is ready!
e. Home Mould Ideas:
Common household items like plastic containers, styrofoam, or cardboard boxes wrapped in cling wrap can serve as moulds. Wrap organic materials to prevent mycelium from consuming them and to prevent them from absorbing water.

Director of Rootlab